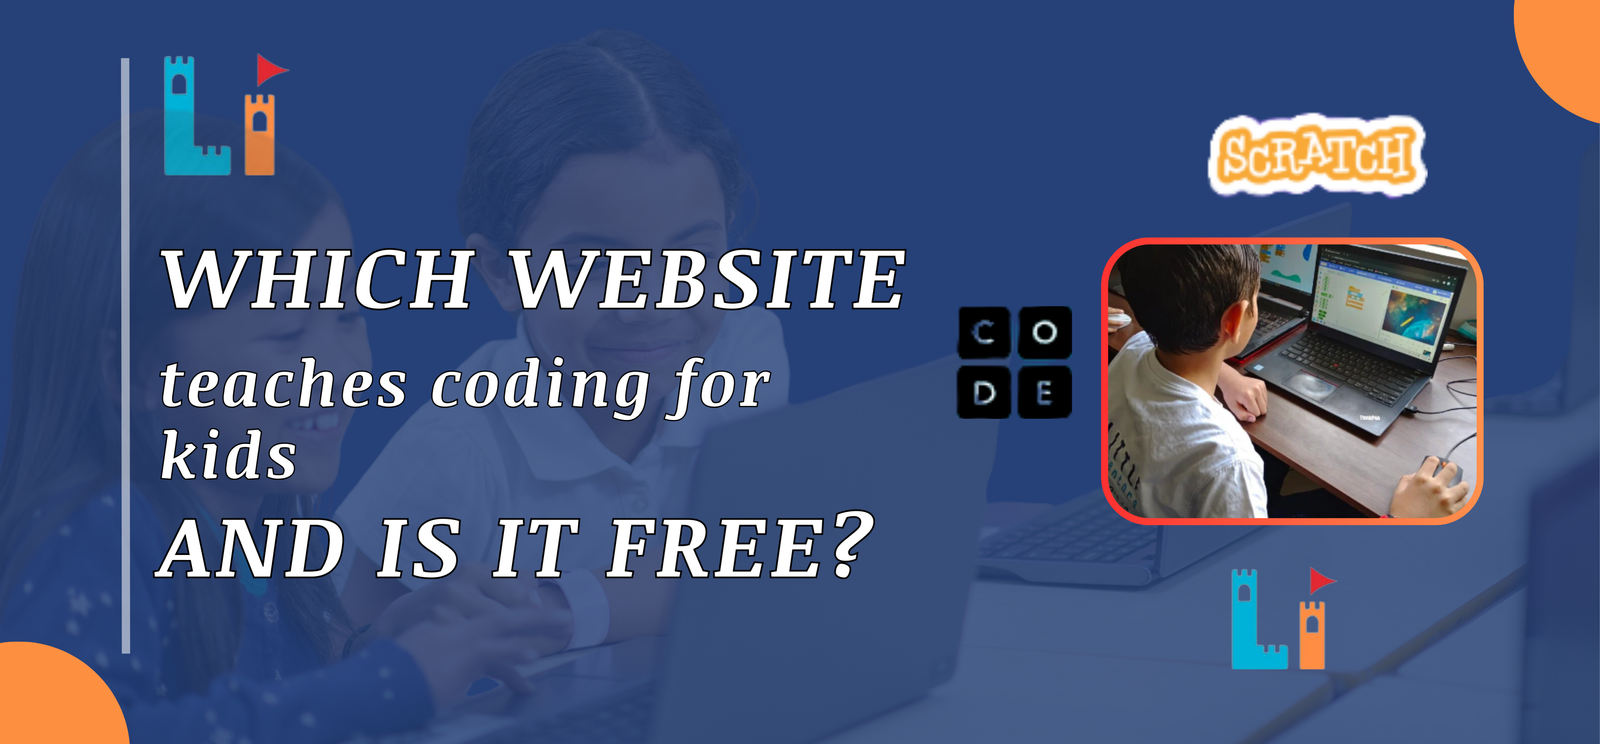
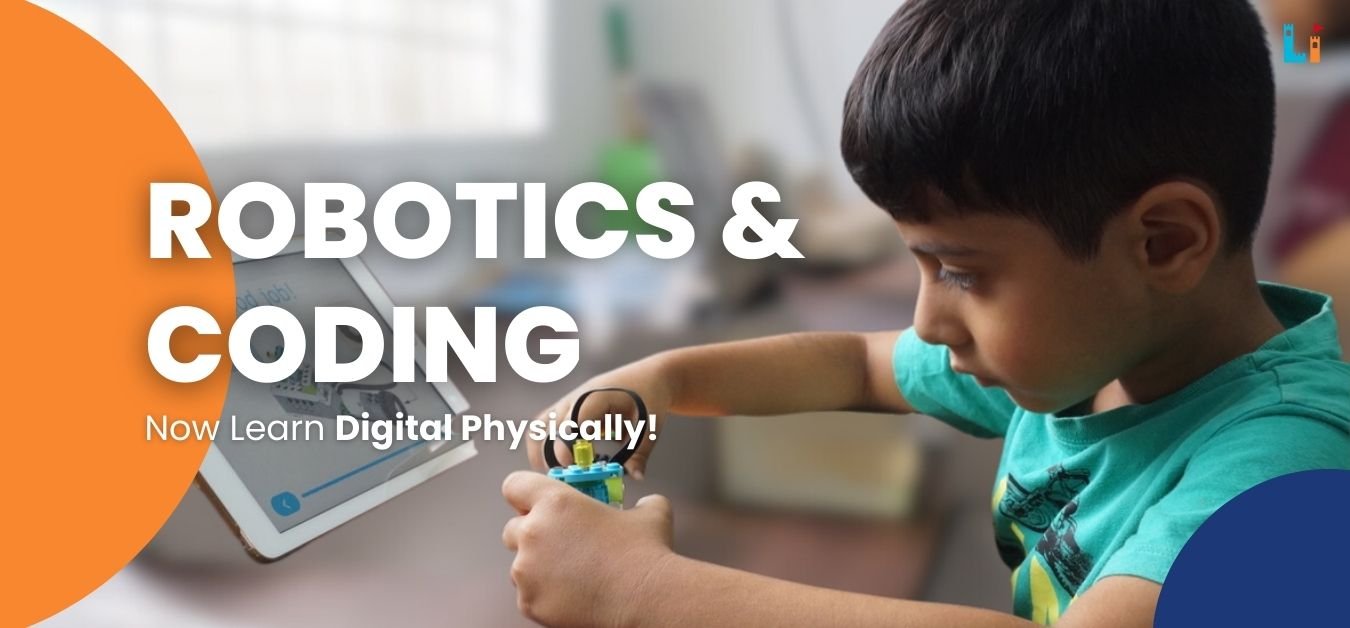
Creating a robot can be a thrilling adventure for kids and an excellent way to introduce them to the fascinating world of robotics. This beginner’s robotics guide will provide easy steps to build a DIY robot for children, encouraging creativity and problem-solving skills. To make the journey even more exciting, check out our LEGO WeDo 2.0 Course for Kids, designed to enhance their learning experience. Let’s get started on this exciting journey into robotics for beginners!
What You’ll Need
Before you jump into building your simple robot, gather these materials:
- Chassis: Use cardboard, plastic, or a small wooden board as the base of your robot.
- Motors: At least one small motor will help your robot move.
- Wheels: Four wheels are ideal, but starting with just two is perfectly fine for a simple robot.
- Battery Pack: A battery pack (AA batteries work well) will power your robot.
- Wires: A few wires to connect the battery to the motor.
- Switch: A simple switch to turn your robot on and off (optional but useful).
- Glue or Tape: To secure all components together.
- Tools: Scissors, pliers, and a screwdriver for assembly.
Step-by-Step Instructions
Step 1: Design Your Robot
Begin by sketching a design for your robot. Think about its appearance and movement. Will it be a wheeled robot that travels straight, or do you want it to be able to turn? A clear design will guide you in building your DIY robot.
Step 2: Create the Chassis
Cut out a sturdy base for your robot using your chosen material. Make sure it’s large enough to hold all the components but not too big to be unwieldy. The chassis is the heart of your robot, so ensure it is stable.
Step 3: Attach the Motors
Secure the motor(s) onto the chassis with glue or tape. If you’re using two motors, place them on opposite sides of the chassis to allow your robot to move forward and backward. Ensure the motor shafts are aligned with where the wheels will attach.
Step 4: Connect the Wheels
Attach the wheels to the motor shafts. If the wheels fit snugly, they will turn easily when the motor spins. You might need to use glue or screws to keep them securely attached.
Step 5: Set Up the Power Source
Connect the battery pack to the motor. If you have a switch, connect it in line with the battery for easy on and off control. Be sure to connect the positive and negative terminals correctly to ensure your robot functions.
Step 6: Test Your Robot
Now comes the exciting part! Turn on the switch or connect the battery. Your robot should move! If it doesn’t, check all your connections and make sure everything is securely attached.
Step 7: Experiment and Customize
Once your robot is operational, think about ways to enhance it. Can you add lights or sounds? Consider incorporating sensors that allow your robot to detect obstacles or follow a specific path. Robotics for beginners is all about experimentation and creativity!
Tips for Success
- Be Patient: Building a robot may take time. Embrace the learning process and enjoy the journey!
- Ask for Help: If you encounter challenges, don’t hesitate to ask a parent or teacher for assistance.
- Keep Experimenting: Robotics is about trial and error. If something doesn’t work, learn from it and try again.
Conclusion
Building a simple robot is an exciting and fulfilling activity that can spark a love for robotics and engineering in children. It’s a fun way for kids to enhance their critical thinking skills while exploring their creativity. To get started, check out our Basics of Electronics & Circuits for Kids course, designed to make learning engaging and fun! So, grab your materials, let your imagination soar, and dive into this beginner-friendly DIY robotics guide to craft your own robot for kids. Remember, every great inventor begins with a simple idea. Happy creating!